EASTER DEALS: Fill your basket with limited-time savings. Shop

Easter deals
Easter picks they’ll love
Fill your basket with superior sound. Save on favourites like QC Headphones.
Trending products
-
-
Colour: Black
-
-


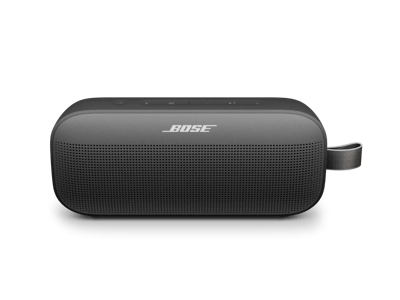

Play the moment
Set the tone, anytime. SoundLink Plus Portable Speaker.
Glow in a golden tone
Beam in the radiant glow of QuietComfort Ultra Earbuds (2nd Gen) in limited-edition Desert Gold.
A hue to drift into
QuietComfort Ultra Headphones (2nd Gen) in limited-edition, naturally-inspired Driftwood Sand.
BOSE AUTOMOTIVE
True believers in the power of sound
Why buy from Bose
-
90-day return policy
Try it for 90 days to make sure it’s right for you.
-
Price match promise
Shop confidently. We’ll match a lower price.
-
Complimentary delivery
On all in-stock orders of $79 or more.
-
My Bose perks
My Bose members receive welcome and birthday offers, exclusive experiences and more.
Important recall notice regarding certain Acoustimass, Lifestyle and Companion system bass modules manufactured prior to 1 April 2006.